Our Customized Headboard
Our goal here was to create a peaceful and organized space that hid the clutter you typically find on your bedside tables.
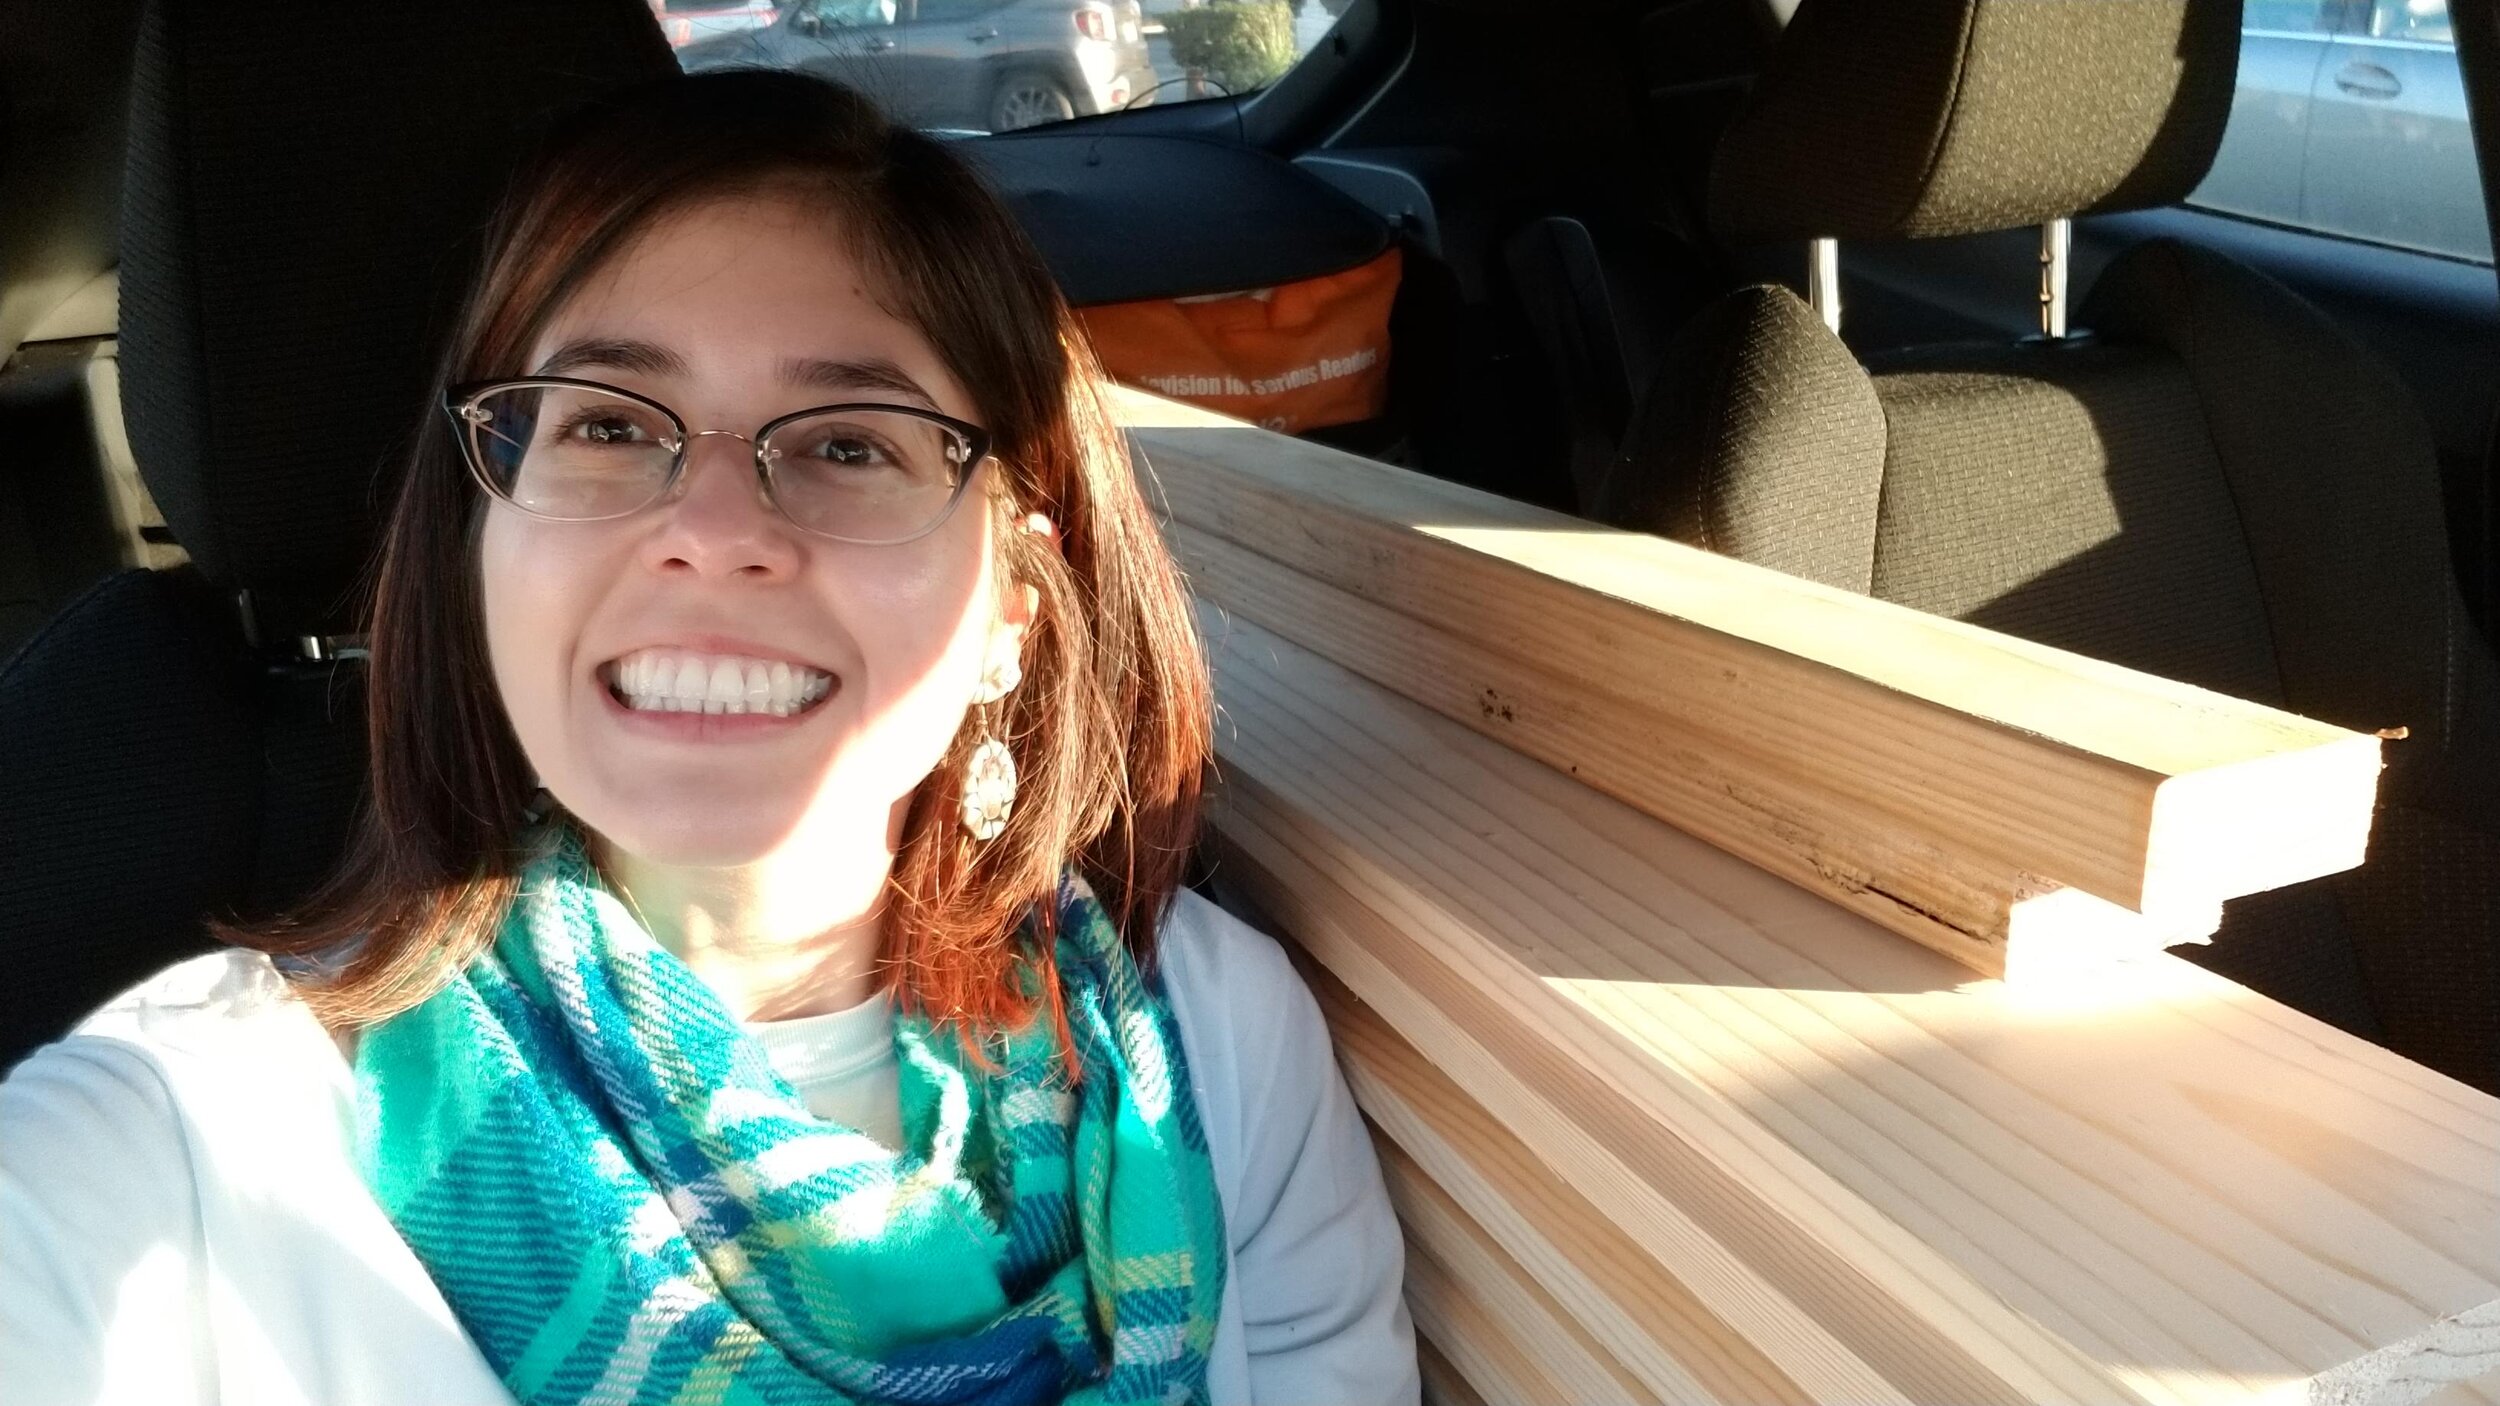
Step 1: Buy all the wood and sand it.
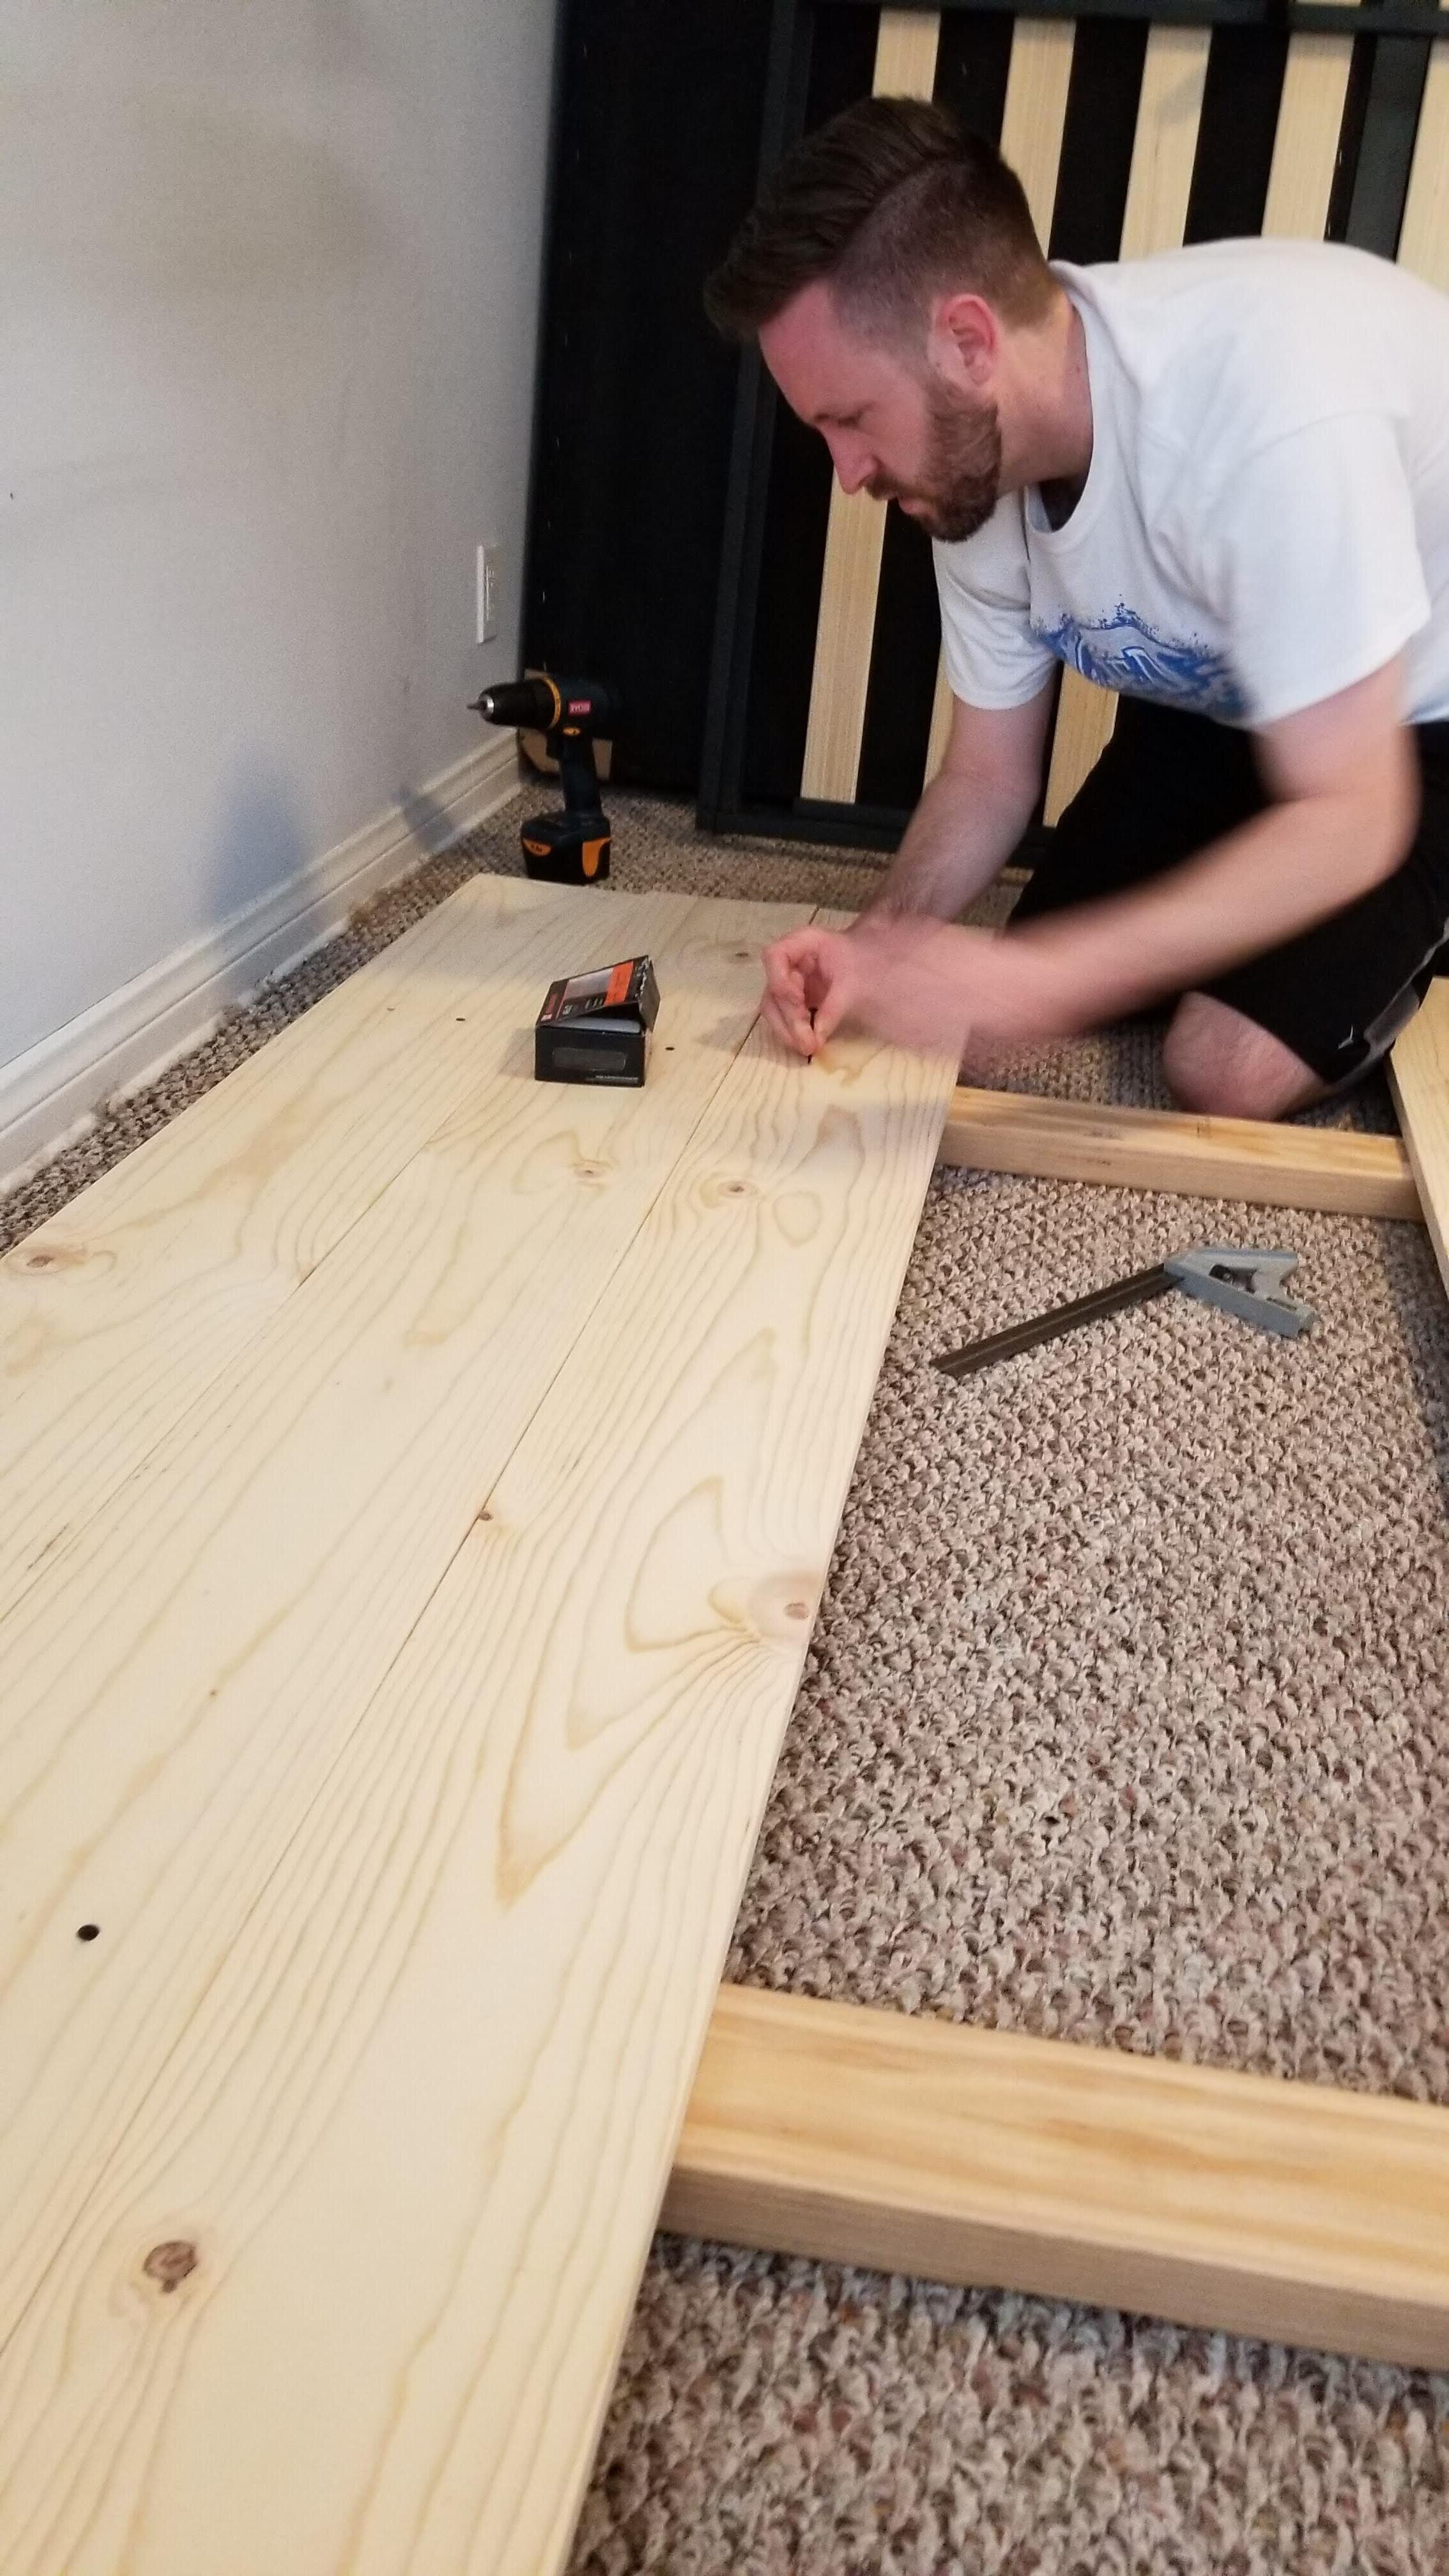
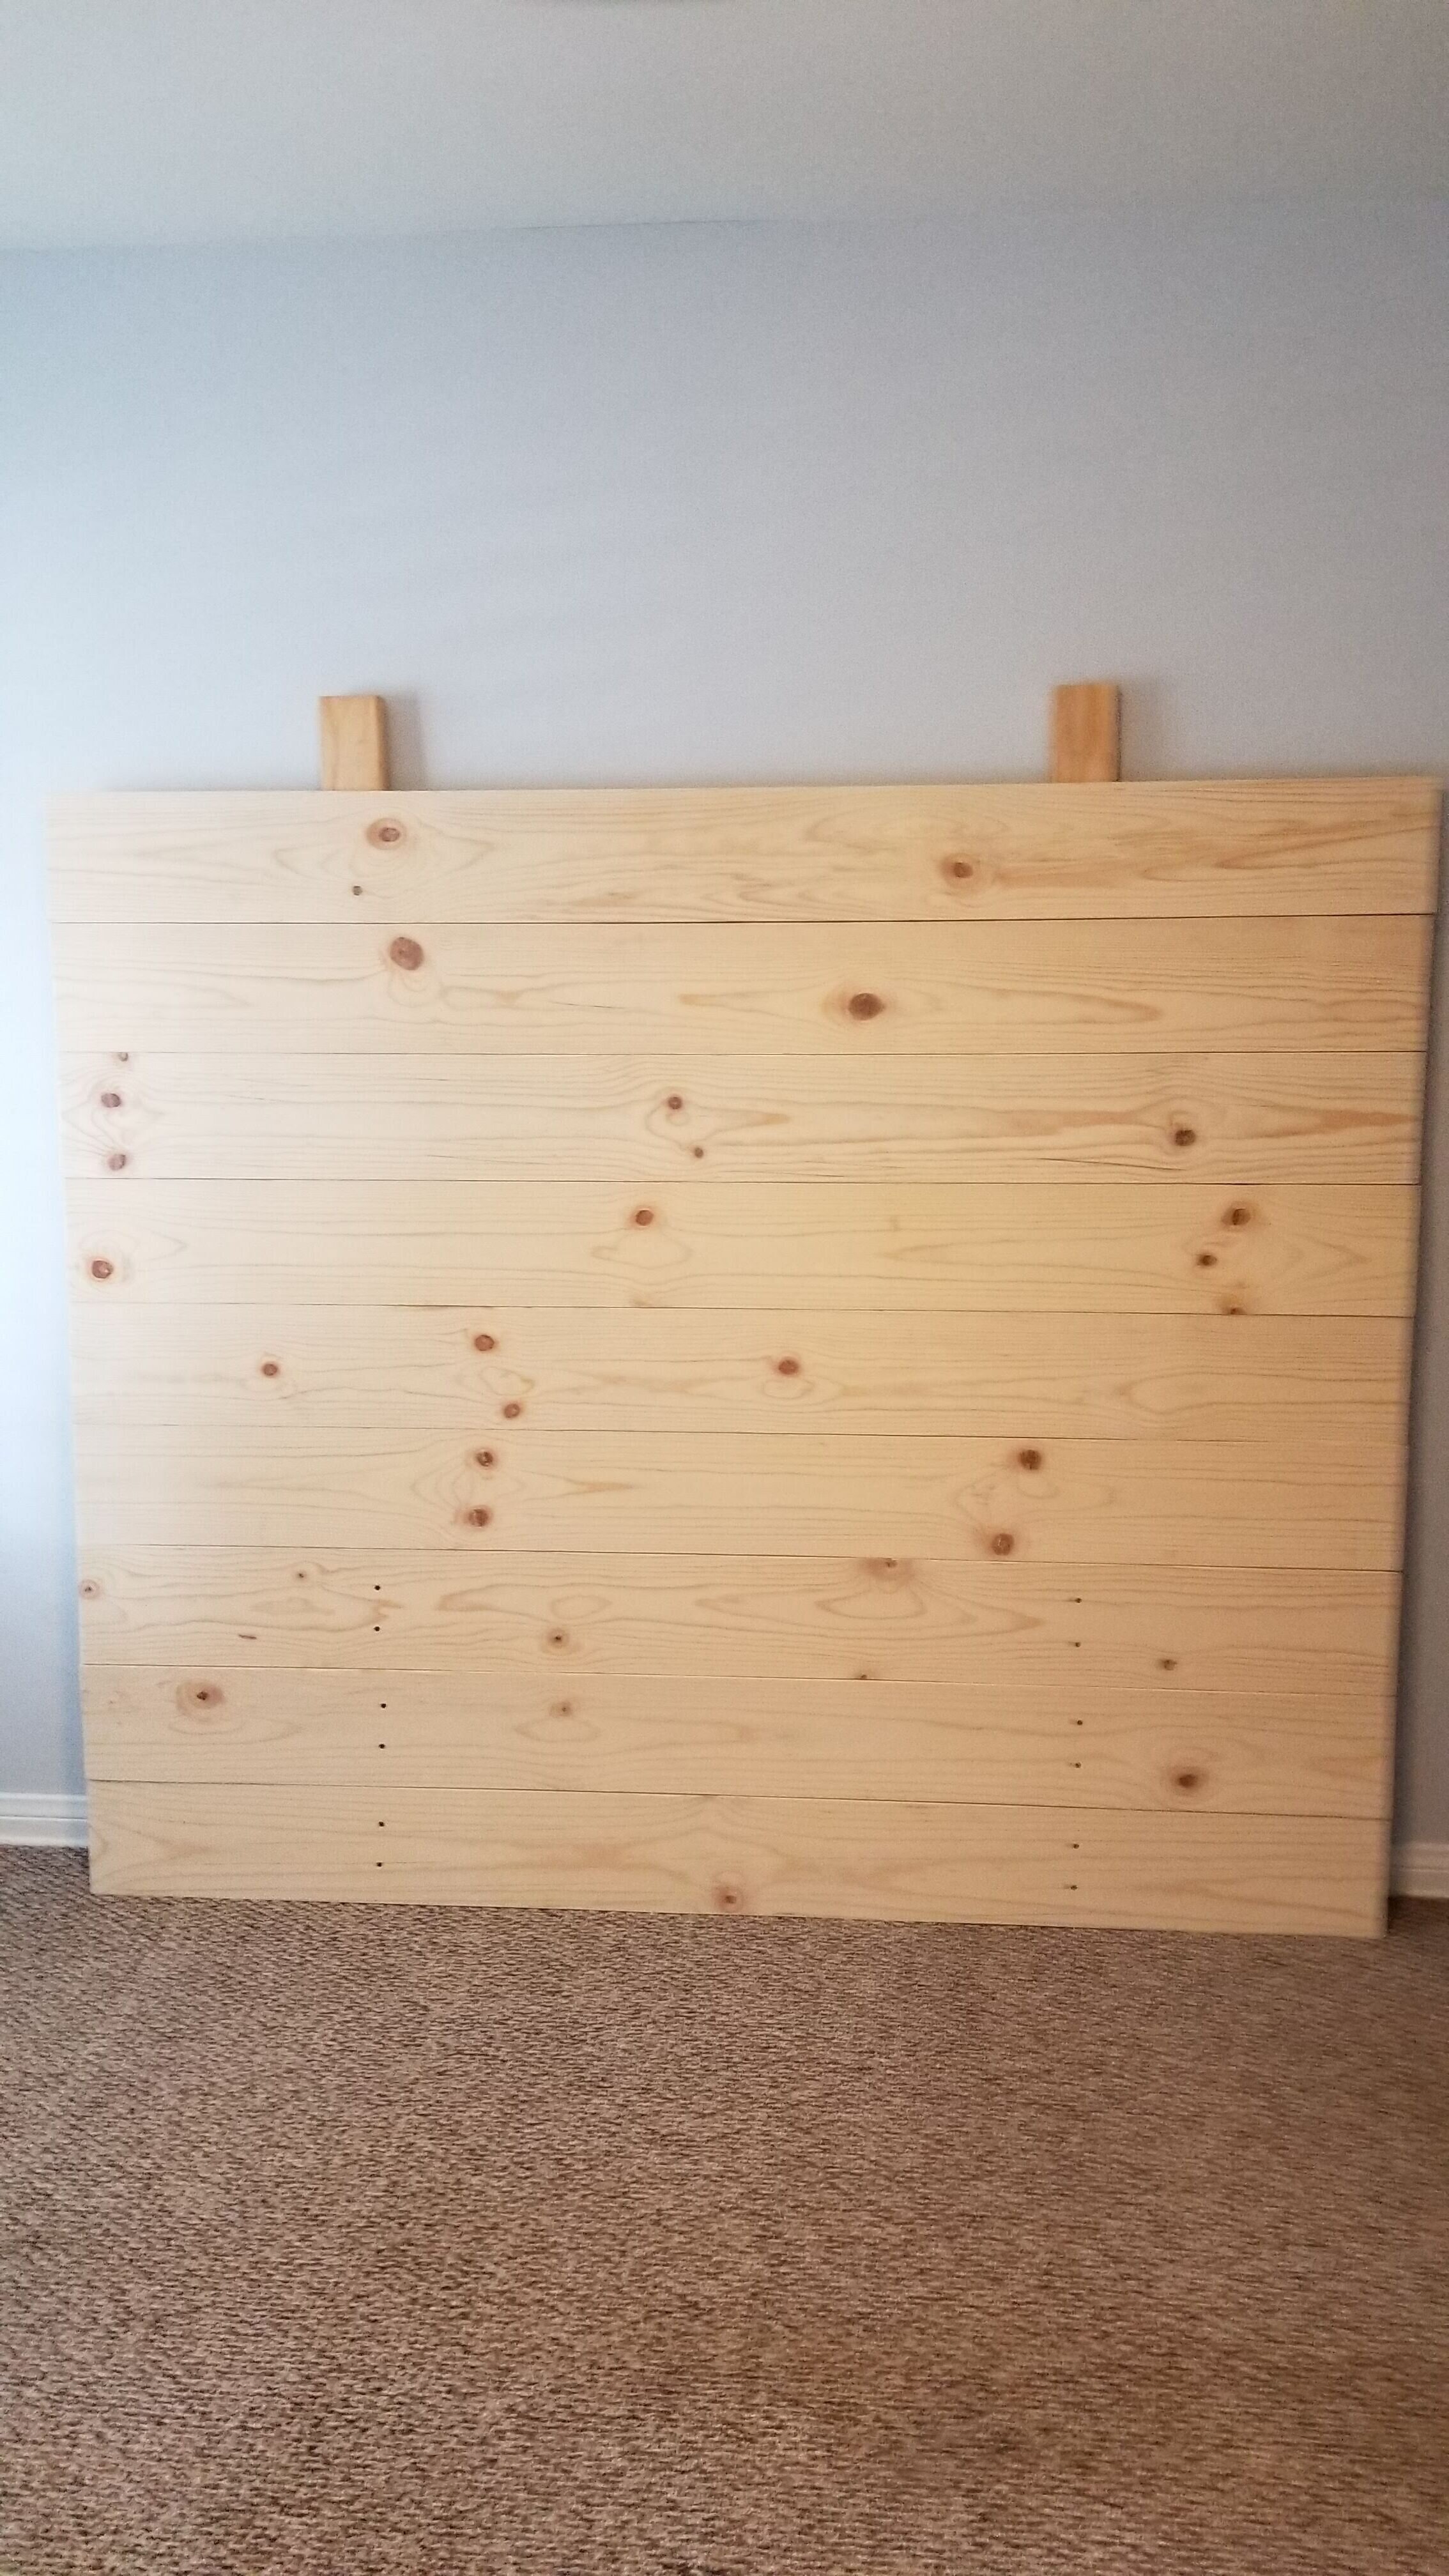
Step 2: start attaching all the boards for the front of the headboard.
Step 3: buy one more board because we originally bought too few.
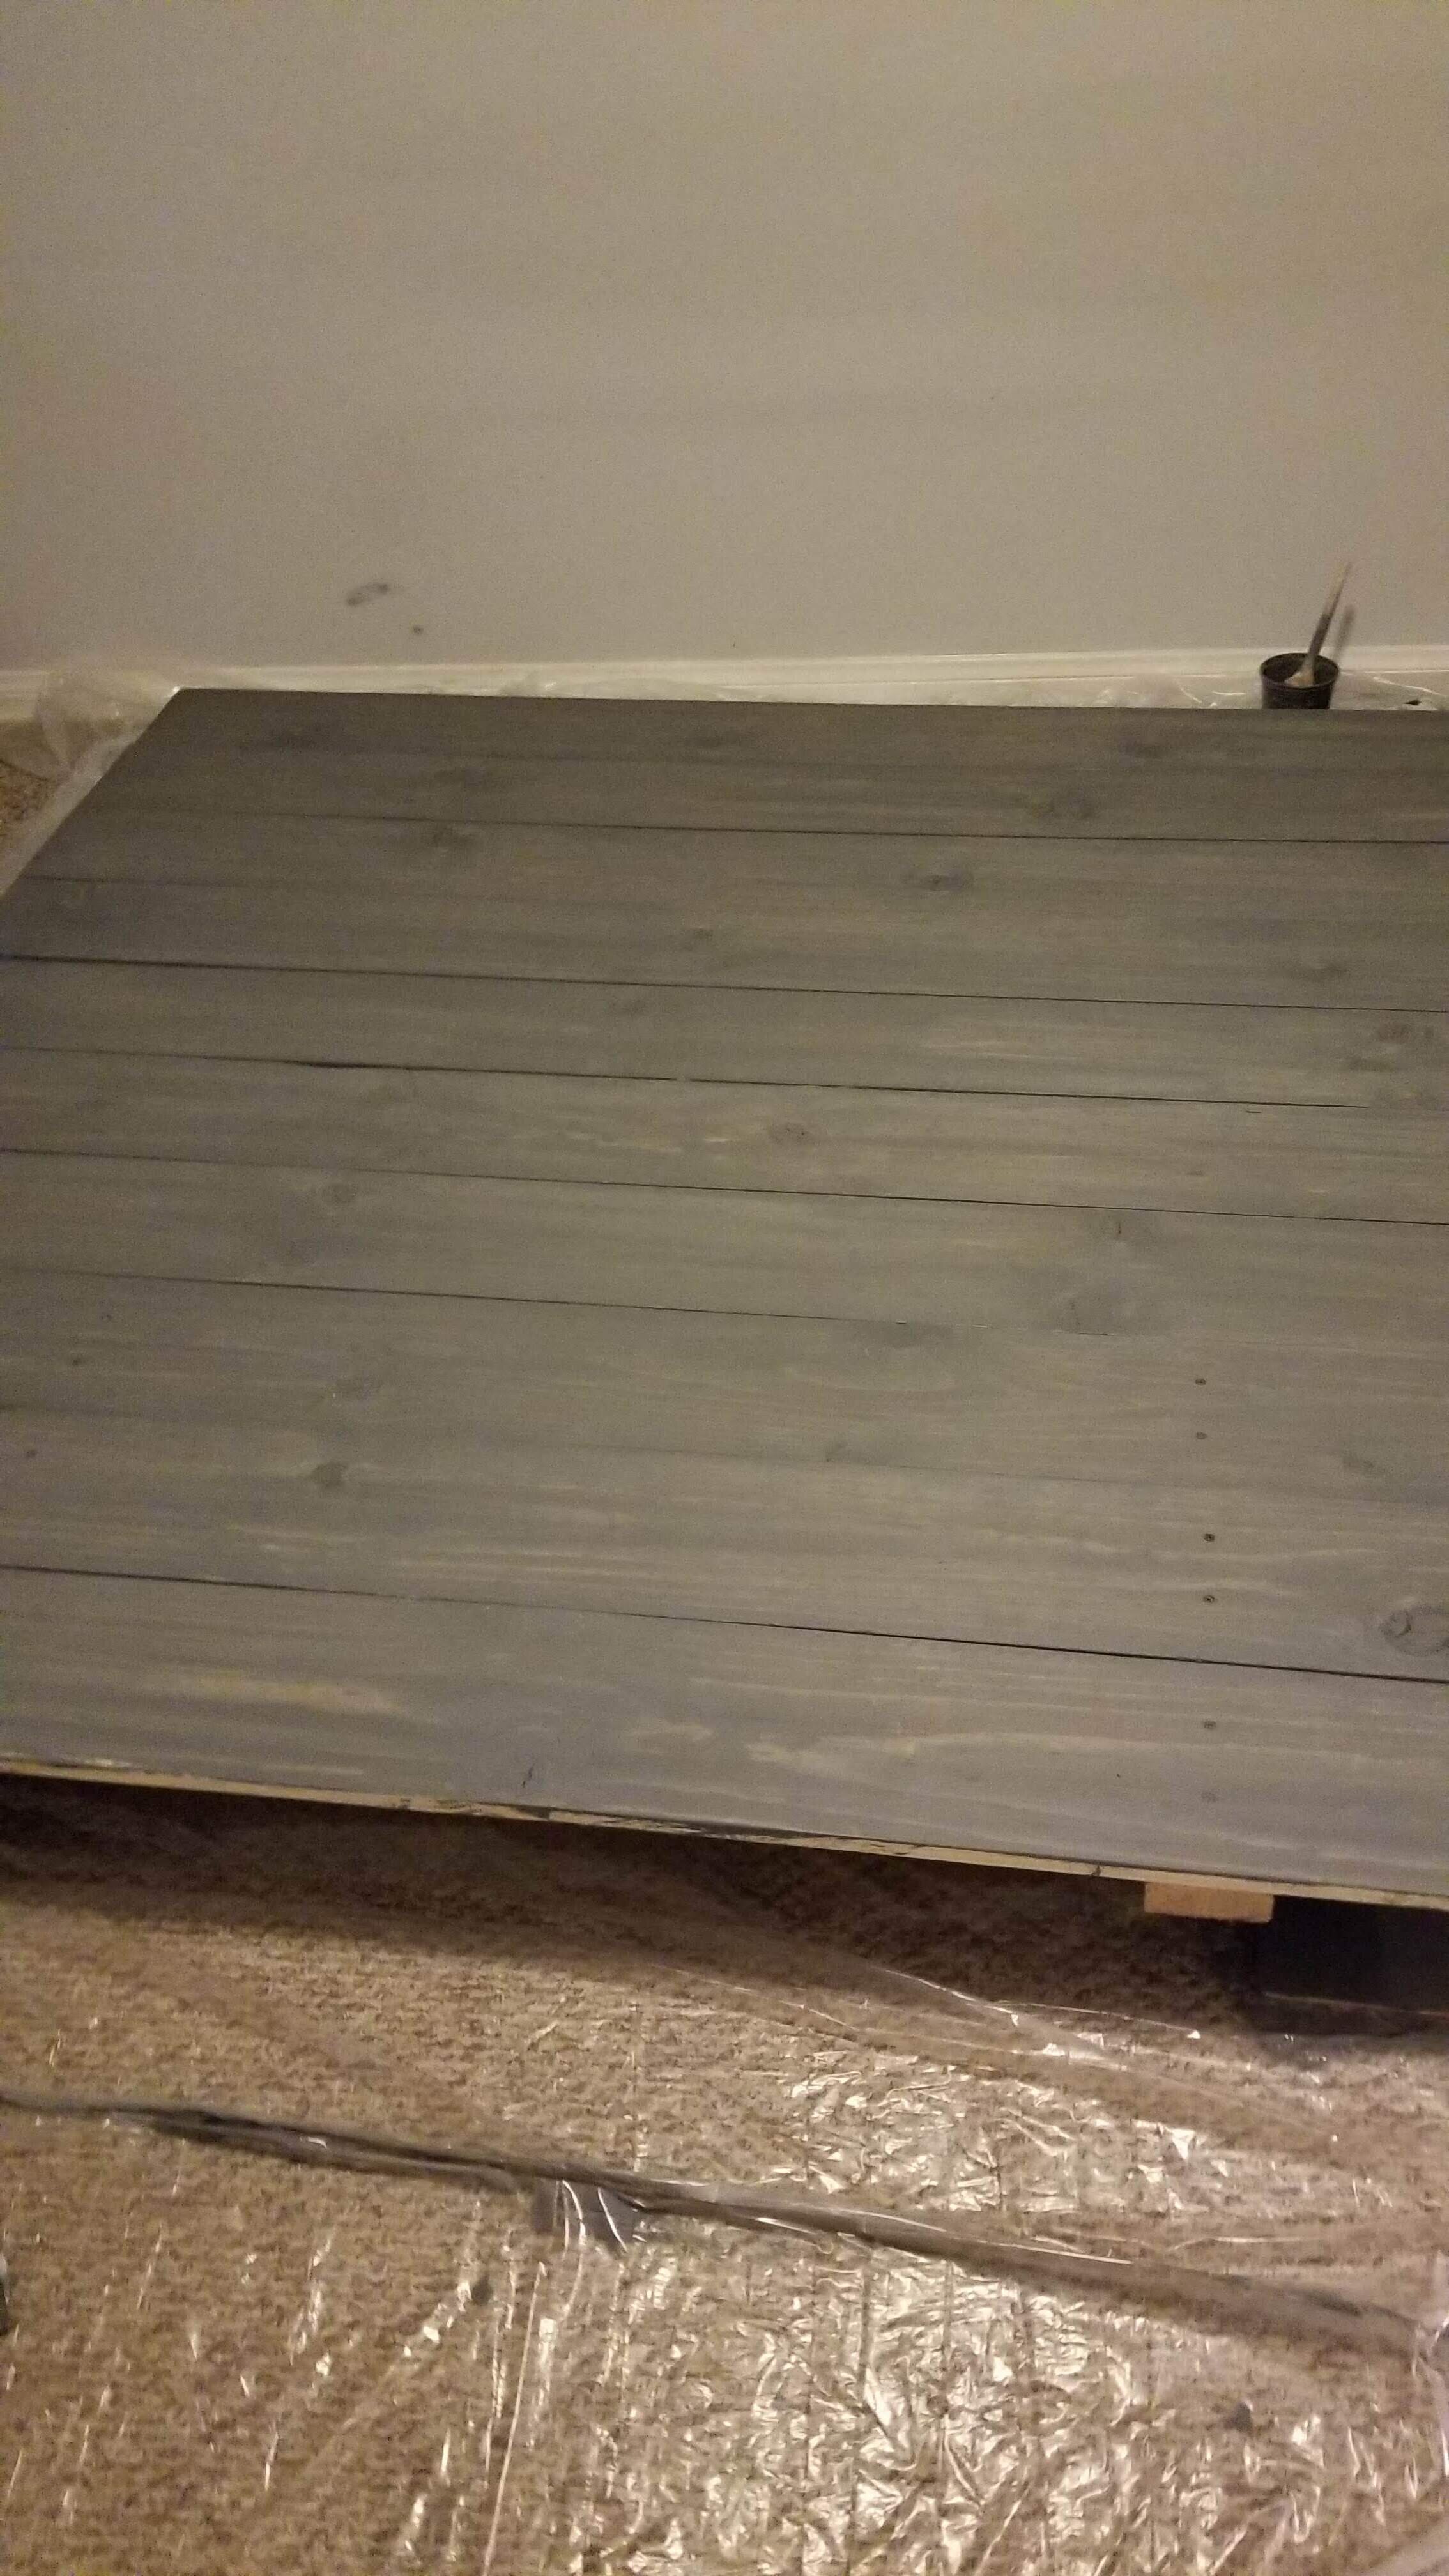
Step 4: stain the wood and add the shelves in the back.
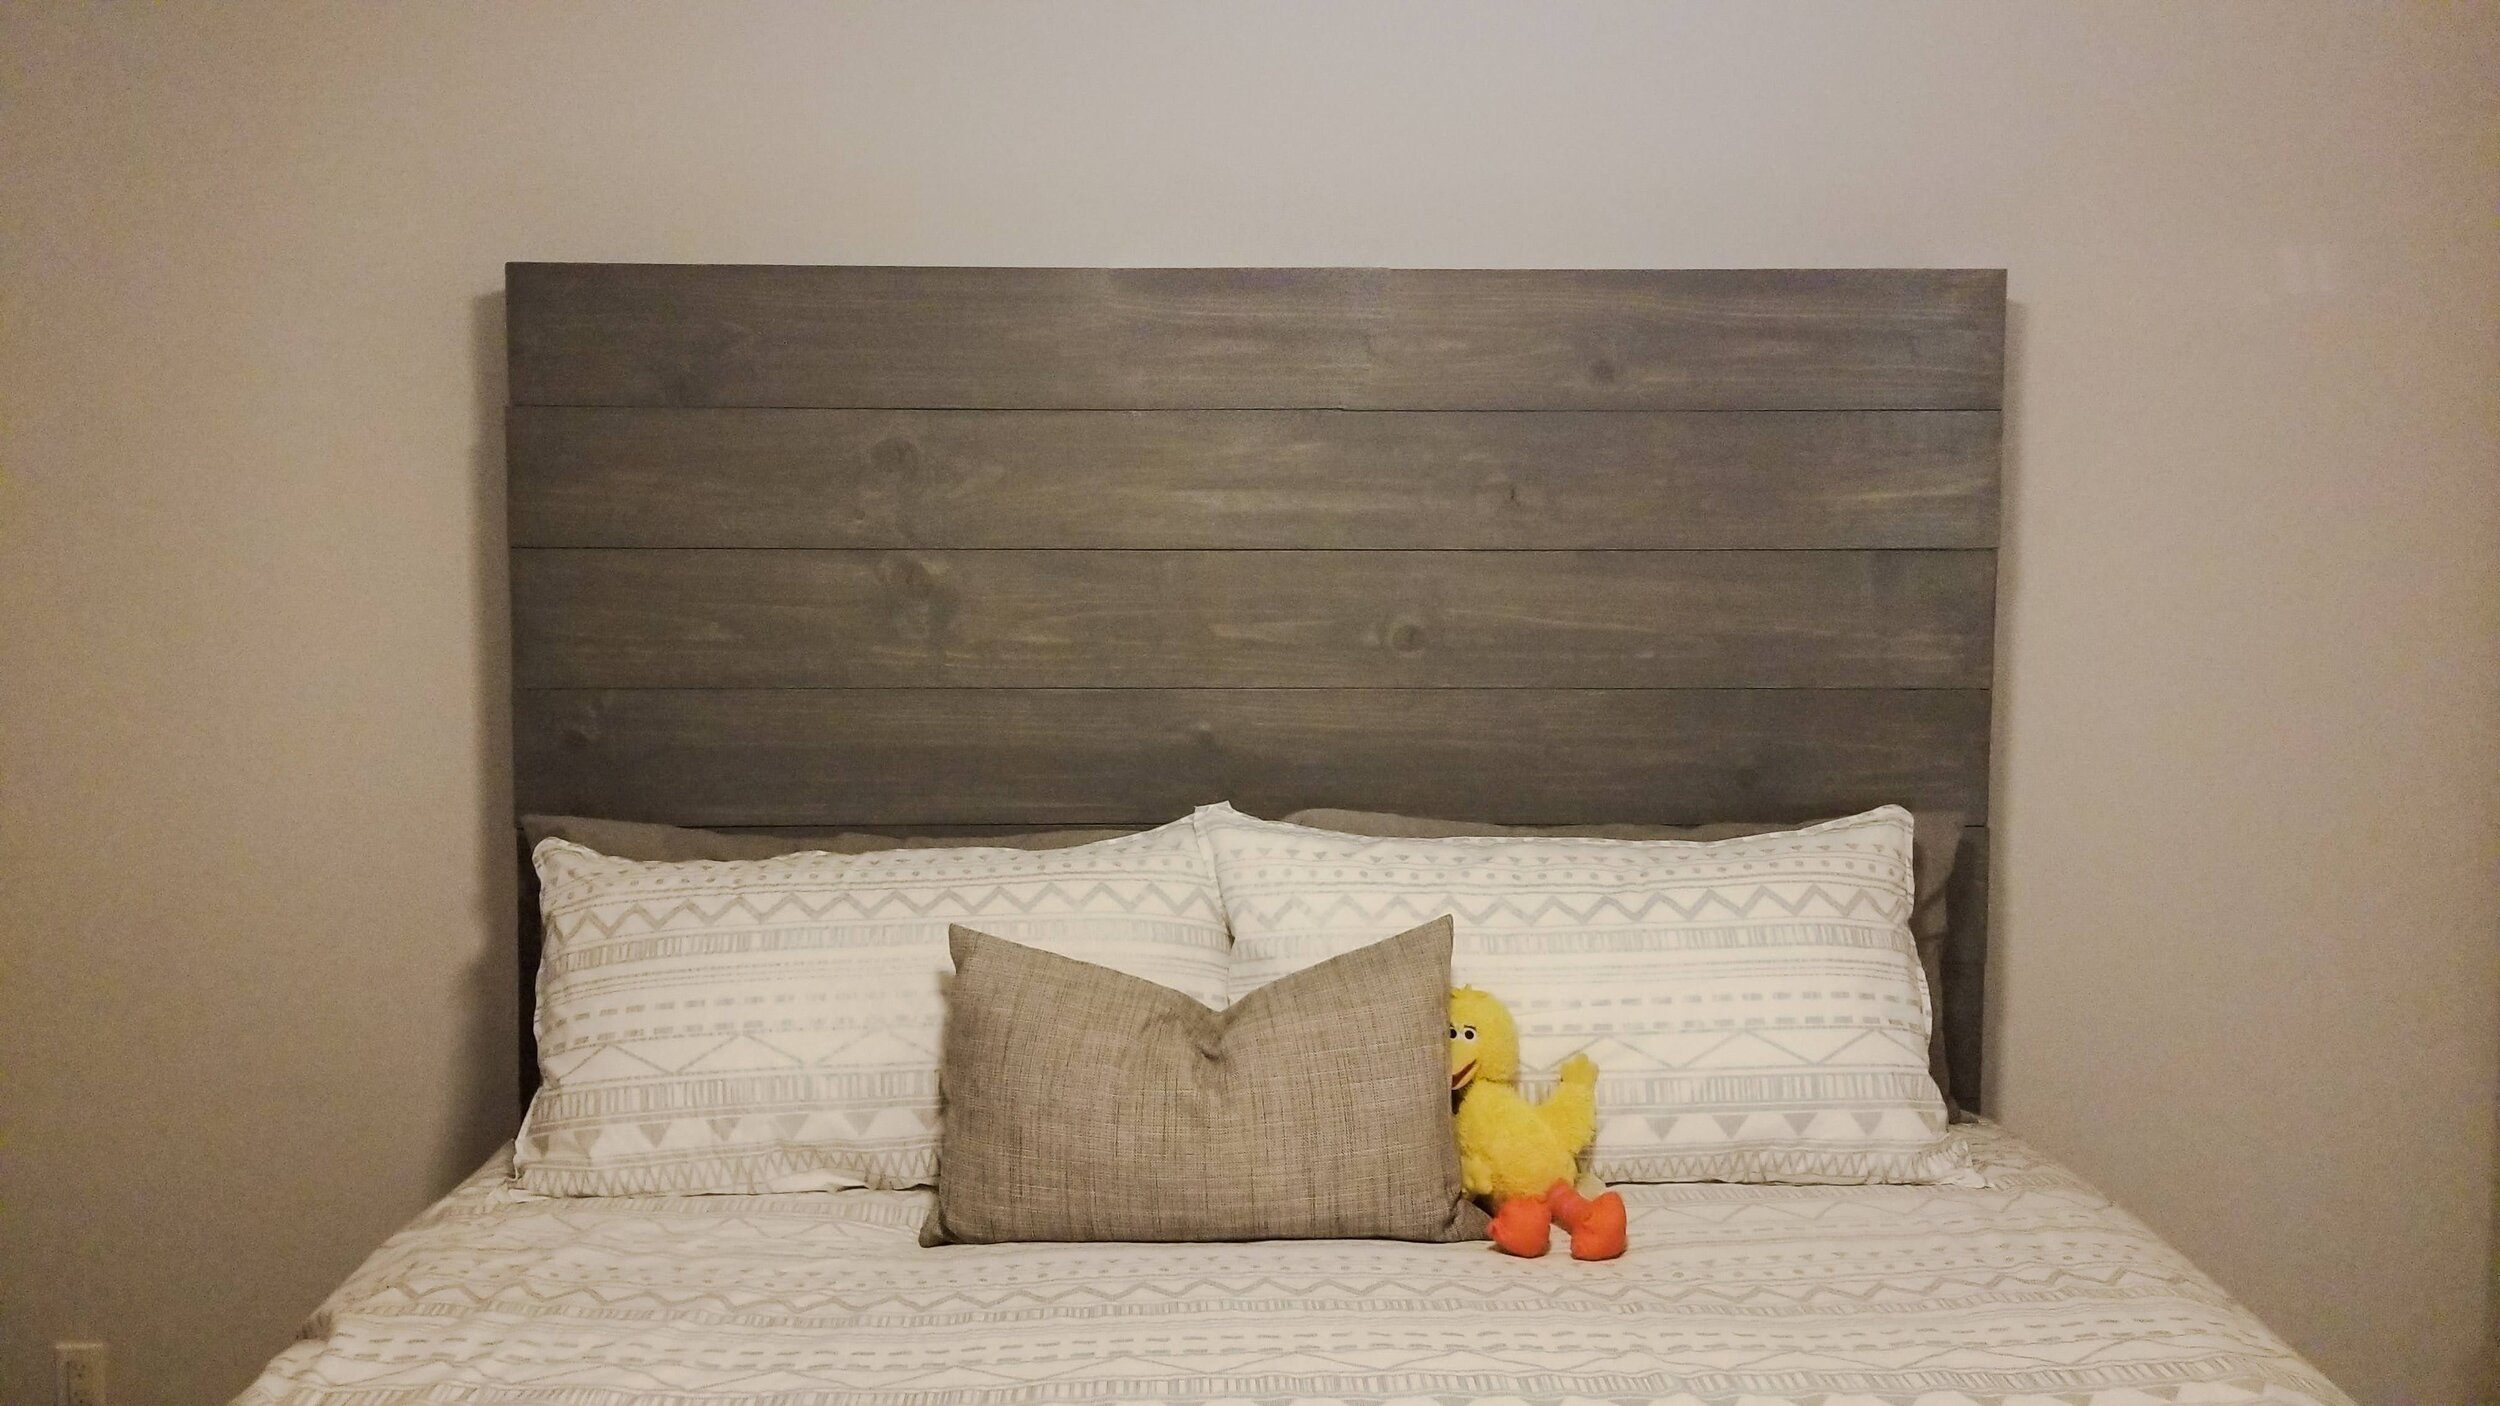
We did not find the sconces we wanted at first so we enjoyed our headboard without them.
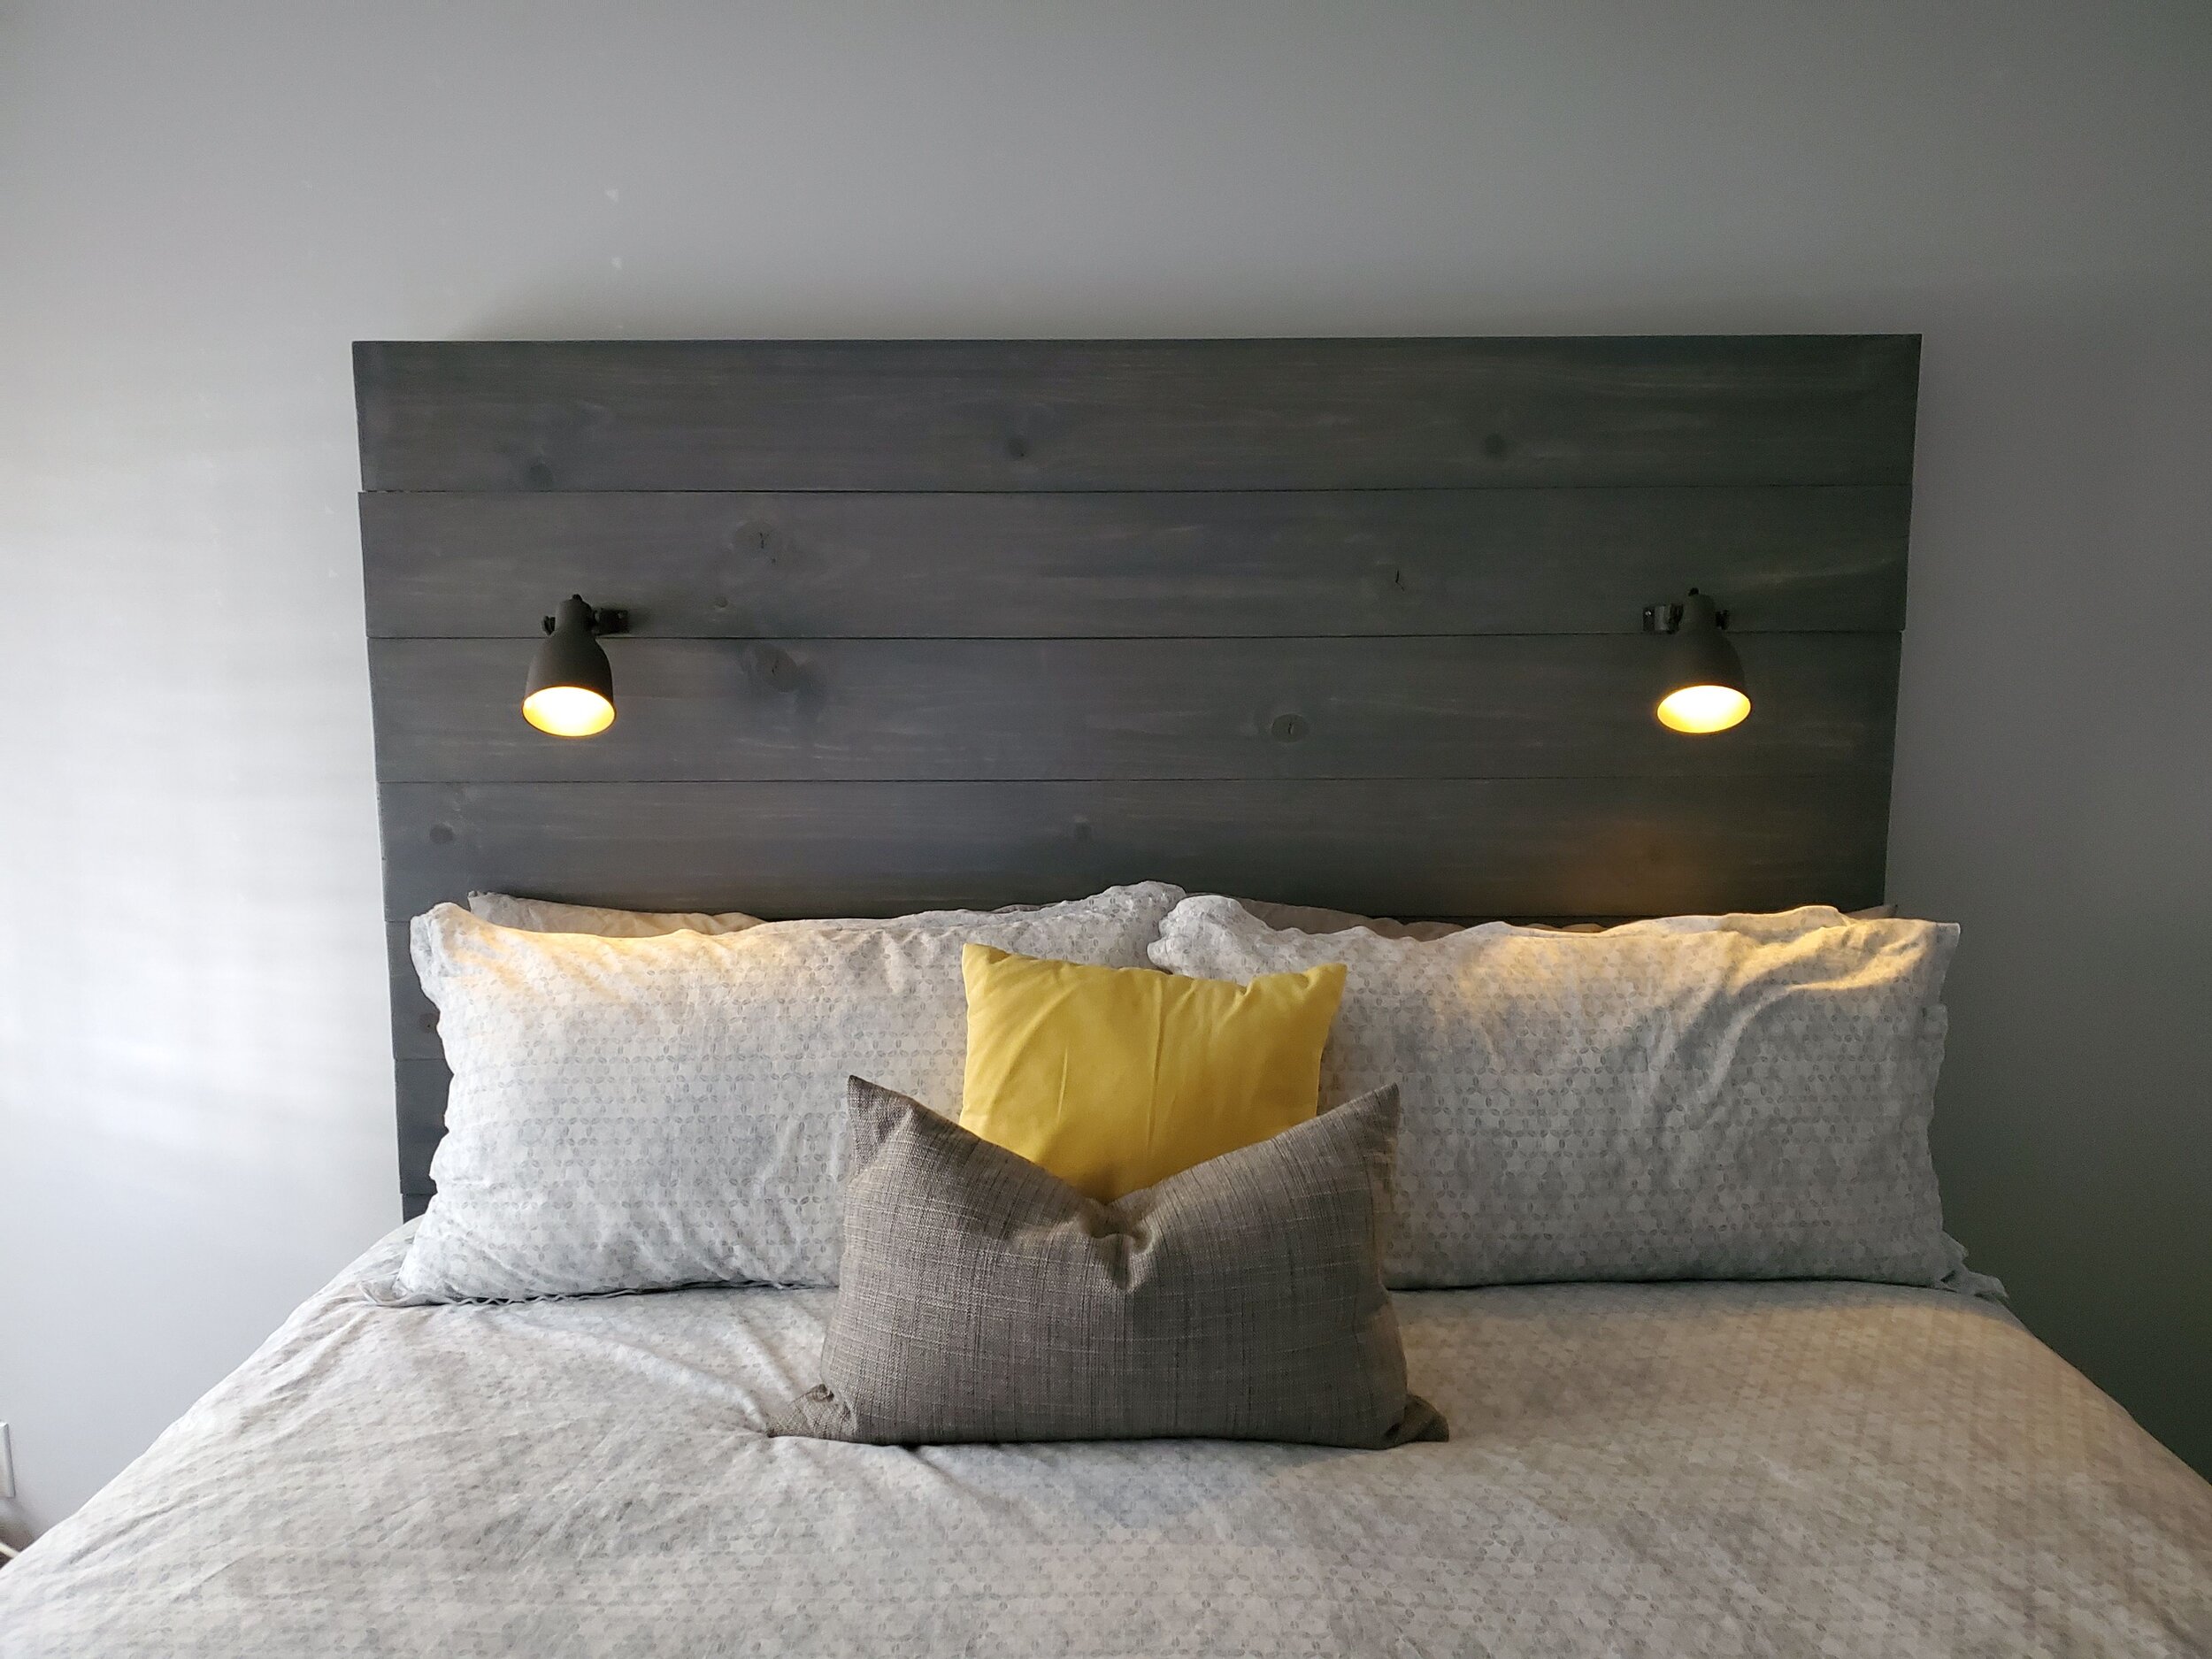
Ah, here it is - 100% complete.
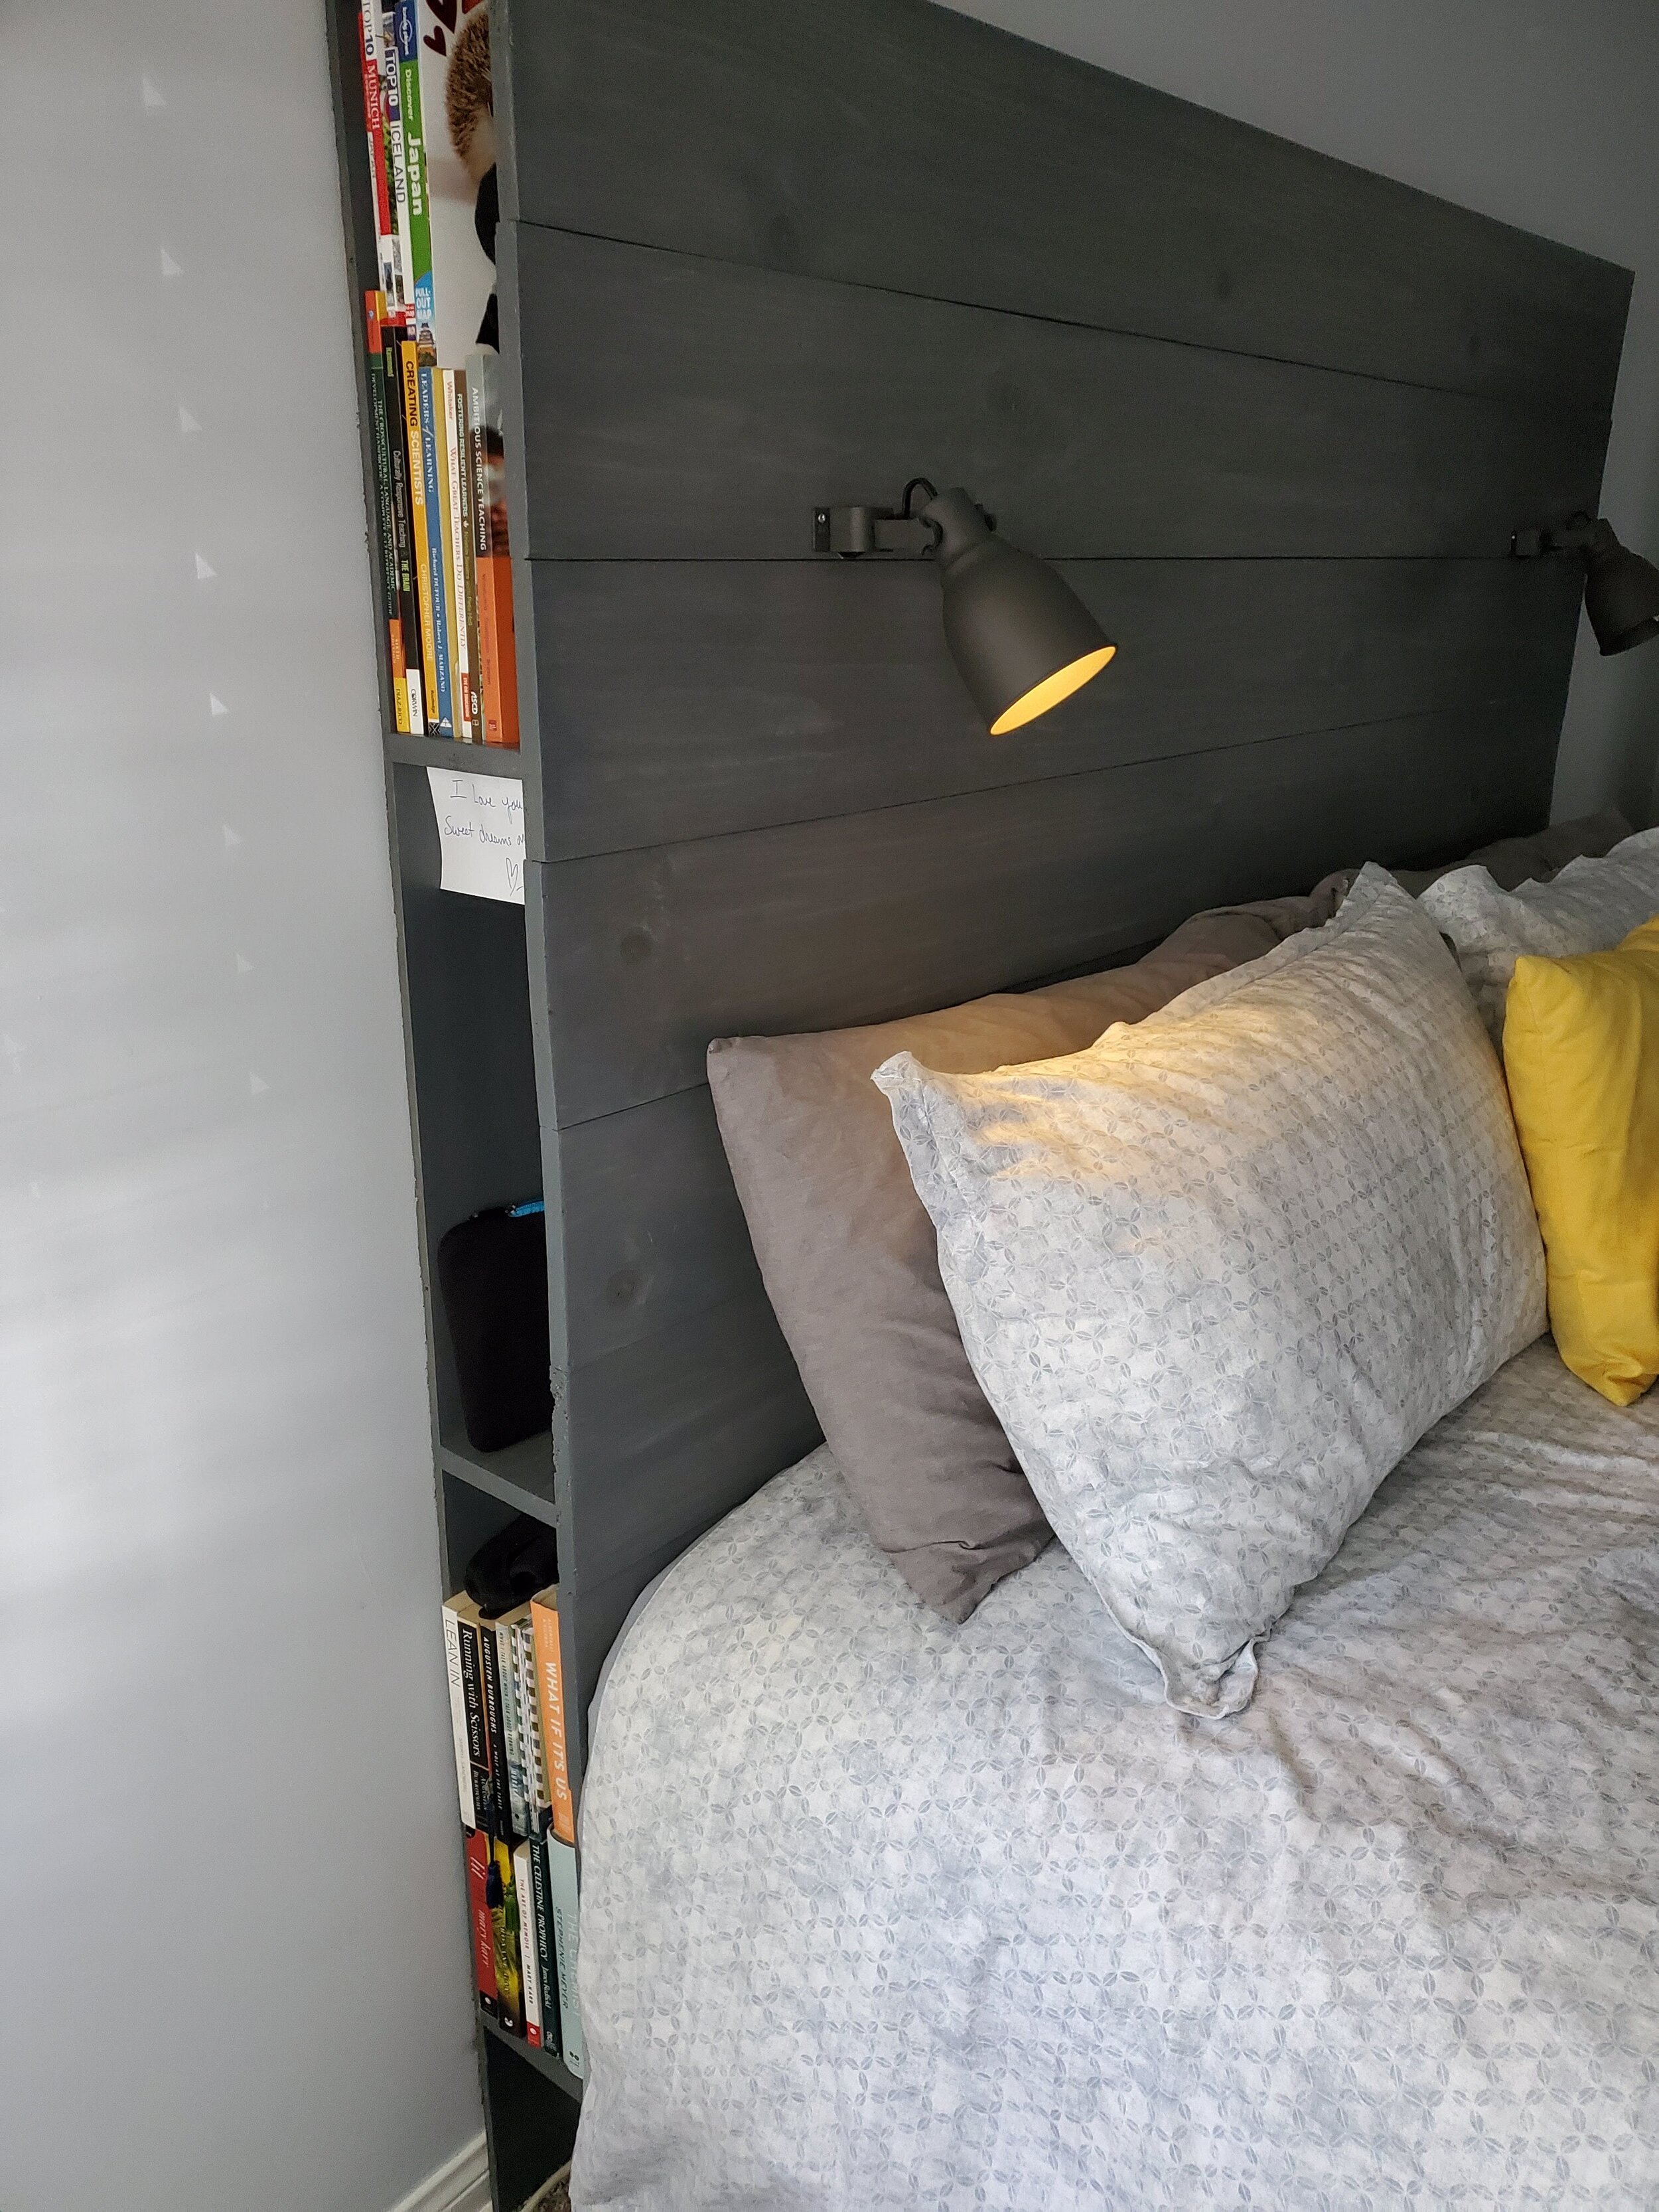
Side view of the storage space. Now our chargers, cords, and books are hidden.